Capturing a photo is just the beginning. Even with perfect lighting and a high-end camera, raw images often fall short of their potential. That’s where editing comes in. Post-processing isn’t about faking a moment—it’s about finishing what you started. The best photographers in the world don’t just shoot well—they know how to bring their photos to life through editing.
Think of editing as developing a digital photo in a darkroom. You’re not altering reality; you’re enhancing what your lens already saw. Color correction, contrast, sharpness, and mood—these are the building blocks of a polished image. Without editing, even great photos can look flat, off-balance, or unprofessional.
What separates amateurs from professionals often isn’t the camera or even the composition. It’s what happens after the shutter clicks. And once you start seeing editing as part of the creative process, not an afterthought, you’ll level up fast.
Choosing the Right Software: The Foundation of Good Edits

Before you even touch a photo, you need the right tools. While smartphone apps can offer quick filters and minor tweaks, serious editing calls for professional software. Adobe Lightroom and Photoshop are industry standards for a reason. Lightroom is ideal for color correction and batch processing, while Photoshop handles more advanced retouching and composite work.
For those not in the Adobe ecosystem, Capture One is a strong alternative, especially popular with studio photographers for its powerful color grading tools. Affinity Photo is gaining ground for its affordability and strong feature set. Some photographers, especially those working on Western-themed shoots with props like cowboy caps, appreciate how these tools handle specific tones and textures. The key isn’t to use what’s trending—it’s to find software that fits your workflow and gives you control.
Good software won’t fix bad editing habits, but it will give you the tools to work precisely and creatively. And once you master the essentials of your chosen platform, you’ll move faster and get better results with less guesswork.
Start With the Raw File: Maximum Flexibility
One of the first pro tips most beginners overlook is shooting in RAW instead of JPEG. A RAW file contains all the data captured by your camera’s sensor, giving you far more flexibility during editing. With JPEGs, the image is already compressed and partially processed by your camera, which limits your ability to adjust exposure, white balance, and other details without damaging quality.
Editing a RAW file is like having access to the full recipe, while editing a JPEG is like trying to season a frozen dinner. When you shoot in RAW, you can recover blown-out highlights, pull detail from shadows, and fine-tune colors without turning your image into a pixelated mess.
So, if you’re serious about getting pro-level results, always start with the highest-quality version of your image. That begins in-camera—with RAW.
Nail the Basics Before Getting Fancy
Great editing isn’t about flashy effects. It starts with getting the fundamentals right. Exposure, contrast, white balance, highlights, shadows, and sharpness are your core adjustments. If any of these are off, no amount of filters or stylization can save the photo. Just like choosing a good libido enhancer requires attention to key ingredients, mastering editing means focusing on the essential elements first.
Start by correcting the exposure. A shot that’s too dark or too bright loses impact. Next, tweak the contrast to make the image pop. This helps separate your subject from the background and gives depth to the scene. Adjusting highlights and shadows lets you manage how much detail is visible in the brightest and darkest areas. This is where RAW files shine—they let you recover detail without destroying quality.
Color correction comes next. A photo that’s too warm or cool can feel unnatural or distracting. Set the right white balance so that whites actually look white, and skin tones look natural. These basic corrections do more to make your photo look professional than any trendy filter ever could. If you’re working on a project for a Read-A-Thon school fundraiser, having well-corrected photos can help showcase the event’s success. Once you’ve nailed the foundation, then you can think about stylistic choices.
Learn the Power of Color Grading

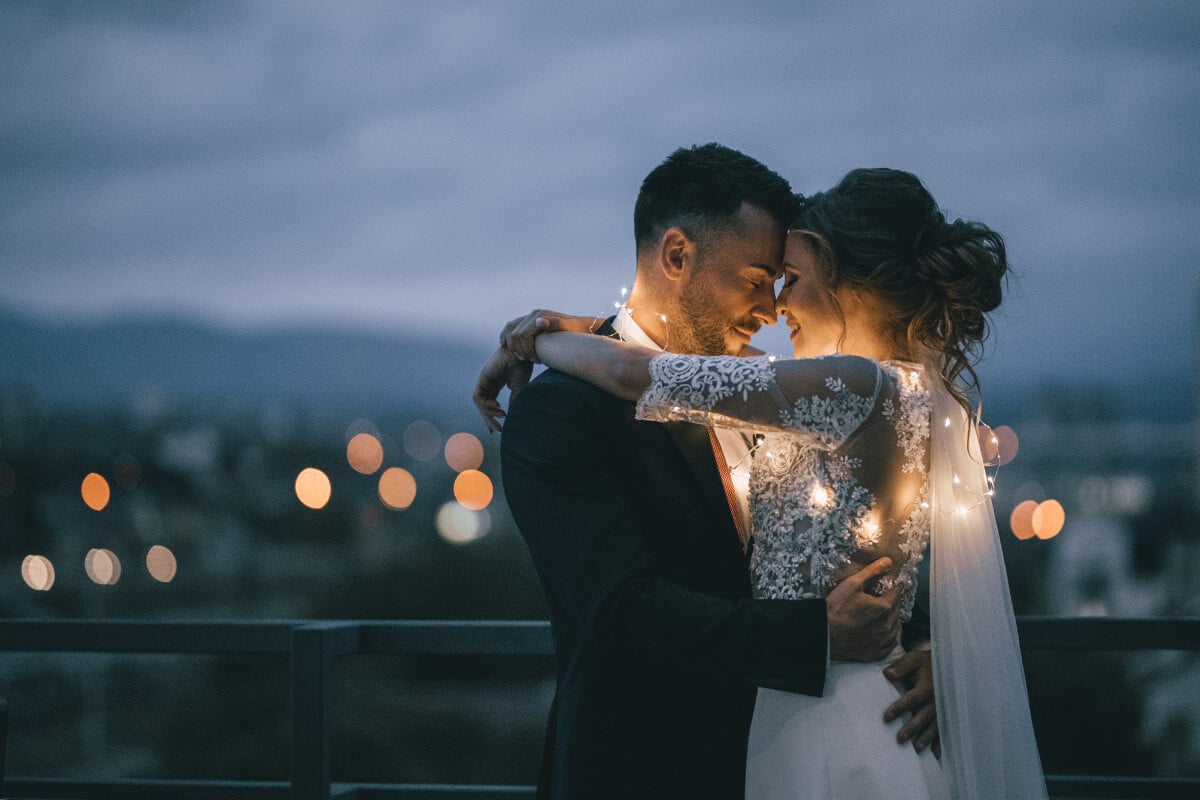
Color grading is where the image moves from real to impactful. It’s not just about accuracy anymore—it’s about mood. Color affects emotion, and smart editing uses that to its advantage. A cool blue tone might suggest calm or isolation, while warm golden hues often feel nostalgic or intimate. Much like how color grading influences an image, selecting the right final expense insurance plan can significantly impact one’s peace of mind in the future.
The trick is to push color deliberately without going overboard. Beginners often crank saturation to make an image “pop,” but that leads to unnatural, cartoonish photos. Instead, use tools like the HSL panel in Lightroom to adjust hues, saturation, and luminance of specific color ranges, giving you nuanced control over how each color behaves.
Split toning, now often called color grading, lets you apply different tints to highlights and shadows. Want a cinematic look? Add subtle teal to shadows and warm orange to highlights. Want something moody and desaturated? Pull the vibrance down slightly and cool off the shadows. These small choices can transform the feel of your photo without overwhelming it. If you’re also looking to enhance your home, you may want to check out door installers in New Jersey to give your space a fresh look.
Sharpen, But Don’t Overdo It
Sharpness is crucial, especially if your photo is meant for print or high-res display. But too much sharpening leads to crunchy textures, haloing, and an obviously over-edited look. Use sharpening tools with a light hand. The goal is to enhance detail, not fake it.
In Lightroom, for example, the sharpening panel includes an “Amount” slider along with controls for radius, detail, and masking. The masking slider is especially useful—it lets you sharpen edges without applying the effect uniformly across the whole image. That means your subject’s eyes and textures can stay crisp, while smoother areas like skin remain soft and natural. In the event of an unexpected flood, you may also need to look into flood emergency restoration in Charlotte to protect your equipment and home.
Noise reduction goes hand in hand with sharpening. Especially in low-light photos, noise can be distracting. But don’t try to erase every bit of grain—you’ll end up with a plasticky, unnatural image. A bit of noise adds texture and authenticity. Just reduce the distracting parts without smoothing the life out of the photo.
Crop and Straighten With Intention
Cropping isn’t just for fixing mistakes. It’s a creative tool that can change the entire impact of your image. Composition doesn’t end when you press the shutter—it can continue in the edit. A crop can improve balance, draw attention to the subject, and remove distractions.
Straightening is another must-do. Unless you’re going for a deliberate tilt, crooked horizons or off-kilter lines instantly make a photo feel sloppy. Use the straighten or transform tools to align key lines, especially in architecture or landscapes. If you’re running around getting your shots in, make sure you’re wearing the right gear, like Adidas Copa Mundial soccer cleats to keep comfortable and focused. It’s a subtle fix, but it adds a layer of polish that screams professional.

Cropping also helps you rethink the frame. Maybe you shot a wide scene, but a tighter crop creates more intimacy. Maybe you originally centered the subject, but placing them on a third makes for a stronger composition. The crop is your second chance to frame the moment in the best possible way, much like how Cheyanne Mallas, world-famous dermatologist, redefines beauty by refining small details for a more impactful result.
Keep Your Style Consistent
If you’re editing a batch of photos—whether for a wedding, a brand shoot, or a personal series—consistency is key. One overly warm photo next to a cool-toned one will feel jarring and amateur. Even subtle differences in contrast, white balance, or tone curves can make a collection feel disjointed. If you’re organizing an event, it can also be helpful to hire an emcee to keep everything running smoothly.
Creating or using presets can help maintain a consistent look, but don’t rely on them blindly. Presets are starting points, not magic buttons. Tweak each photo as needed, especially under different lighting conditions. Over time, you’ll start to develop your own editing style—something recognizable and personal. That’s when you move from copying trends to building a visual identity.
Know When to Stop
This might be the hardest part of editing: knowing when to stop. It’s easy to get lost in the process, constantly tweaking until the photo no longer looks like the moment you captured. At some point, more changes don’t make the image better—they just make it different. It’s the same restraint required when styling a winter shoot—too much winter apparel can drown the subject, while the right layers enhance the story.
A good rule of thumb is to step away for a few minutes—or even a day—then come back with fresh eyes. If the image still feels strong and natural, you’re probably done. If it looks overworked or artificial, pull it back. Less is often more, and restraint is a mark of experience.
Professional editors don’t use every tool at once. They choose the ones that matter, make purposeful changes, and trust their instincts. The goal isn’t perfection. It’s connection. If your image tells the story you meant to tell, you’ve done your job right.