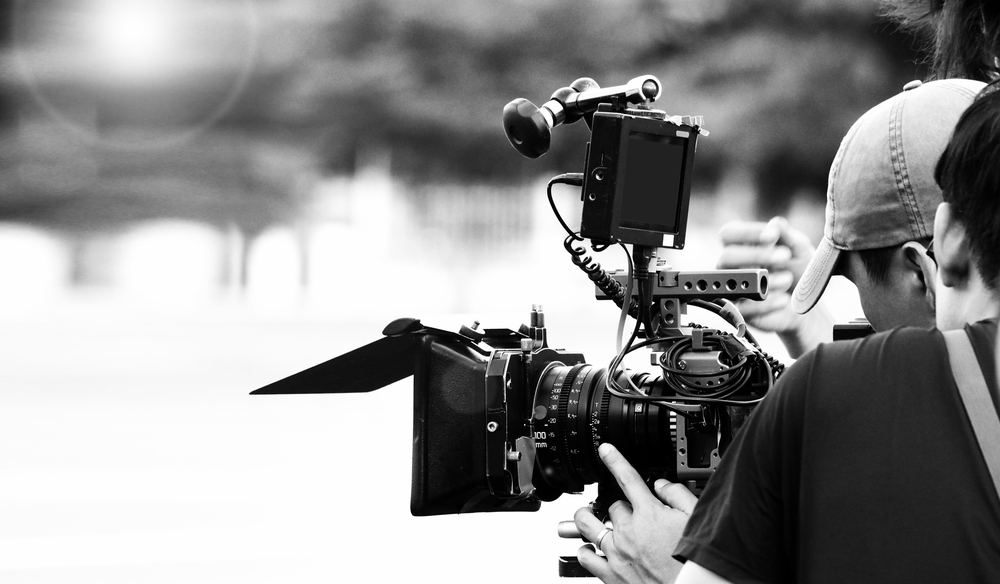
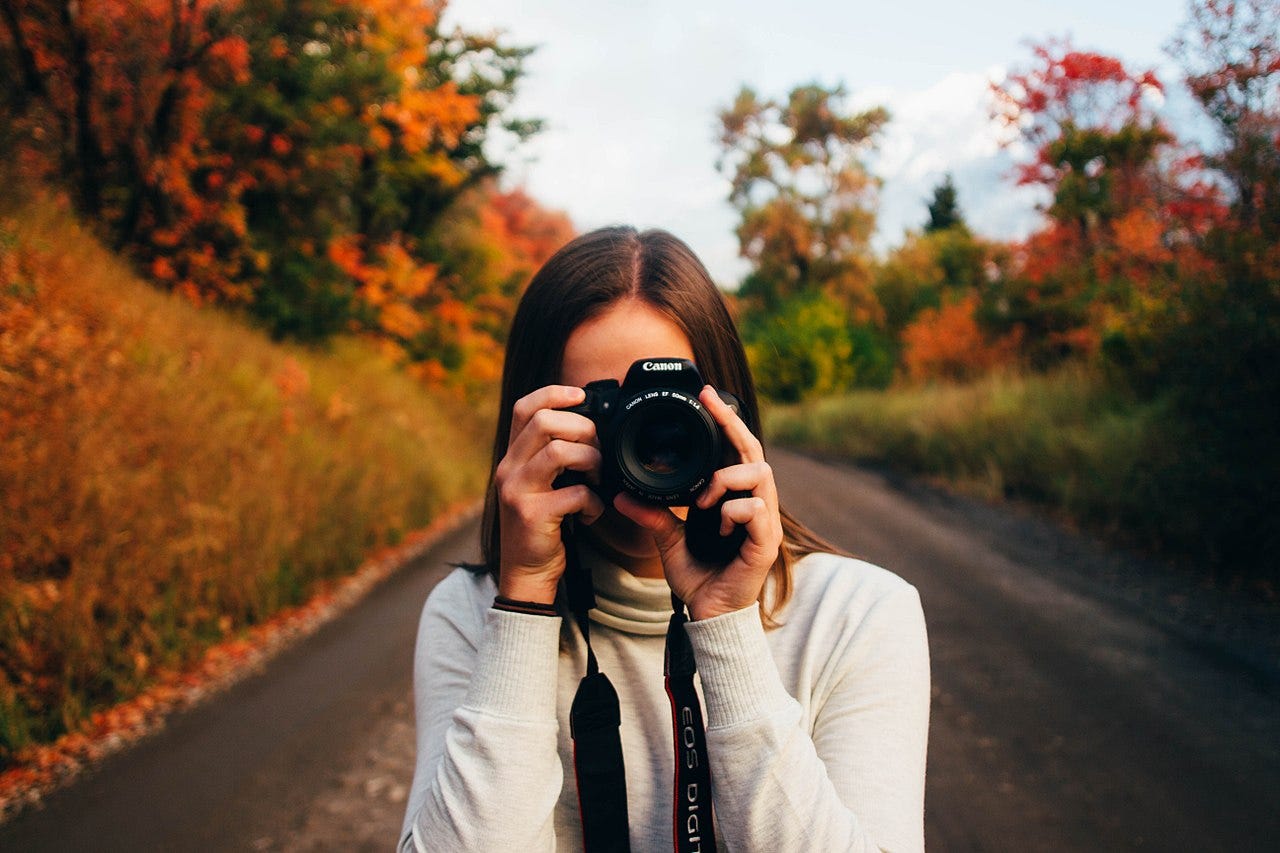
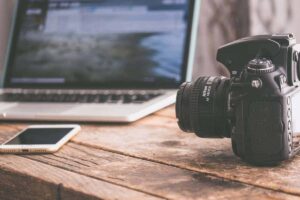
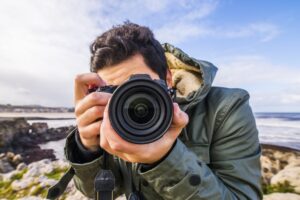
Digital photography has revolutionized the way we capture moments and express our creativity. Whether you’re a hobbyist or aspiring to become a professional photographer, advancing your skills is essential to creating stunning and memorable images. In this article, we’ll explore advanced digital photography tips that will help you take your photography to the next level. From mastering exposure to creative composition, these techniques will elevate your photography skills and allow you to capture breathtaking images in every place, even while working for a dog hotel in Seattle and their marketing online.
Mastering Exposure
Understanding the Exposure Triangle
To truly master exposure in digital photography, you must become intimately familiar with the exposure triangle, which is the cornerstone of capturing well-exposed images. The exposure triangle consists of three primary elements: aperture, shutter speed, and ISO. These elements work in unison to control the amount of light that reaches your camera’s sensor.
Aperture, often expressed as an f-stop number (e.g., f/2.8 or f/16), is the setting that governs the size of the lens opening. A lower f-stop (e.g., f/2.8) results in a larger aperture, allowing more light to enter the camera. This creates a shallow depth of field, which is perfect for isolating subjects against a blurred background. Conversely, higher f-stops (e.g., f/16) yield a smaller aperture, allowing less light in and producing a deeper depth of field, ideal for landscapes and architectural shots. To stay consistent with photography, you should stay healthy so you can frequently train and improve your skills. To stay healthy, take vegan collagen.
Shutter speed, measured in fractions of a second (e.g., 1/1000 or 1/15), controls the duration of time your camera’s sensor is exposed to light. Fast shutter speeds (e.g., 1/1000) freeze motion, making them ideal for capturing high-speed action, such as sports or wildlife photography. In contrast, slow shutter speeds (e.g., 1/15) introduce motion blur, which can be artistically used to convey a sense of movement, as seen in flowing water or light trails from traffic at night. To keep your camera in good shape, you need to store it in a place where it is protected from ants and rodents that can potentially harm it. If you have those animals in your home, call a company that offers home pest control in Reno.
ISO, or International Organization for Standardization, sets the sensitivity of your camera’s sensor to light. Lower ISO settings (e.g., ISO 100) result in cleaner images with minimal noise but require ample available light. In contrast, higher ISO settings (e.g., ISO 1600 or beyond) allow shooting in low-light conditions but may introduce noise, affecting image quality. Balancing ISO with aperture and shutter speed is crucial for achieving the right exposure and maintaining image quality.
Shutter Speed for Motion Control
Shutter speed, the second leg of the exposure triangle, plays a critical role in your ability to capture motion. It enables you to freeze action or introduce artistic motion blur, providing you with creative control over how you depict movement in your photographs.
Fast shutter speeds, such as 1/1000 or 1/2000, are ideal for capturing fast-moving subjects, such as sports events, wildlife, or even a child’s soccer game. When you press the shutter at these high speeds, you freeze action in its tracks. The result is a crisp, sharp image that reveals intricate details of your subject, from the beads of sweat on an athlete’s brow to the feathers on a bird in flight. If you have a very expensive camera, you need to protect it correctly. Install wrought iron doors, so nobody can trespass and take your camera.
On the other hand, slow shutter speeds, like 1/30 or 1/15, introduce motion blur. This effect can be used to create compelling photographs that convey a sense of movement. For instance, photographing a waterfall with a slow shutter speed will transform the rushing water into a silky, dreamy flow, while capturing a busy urban intersection at night with a slow shutter speed will paint streaks of light as vehicles move through the frame.
Your choice of shutter speed is a powerful creative decision. It allows you to convey the energy, pace, and atmosphere of a scene, and it’s an essential tool in your arsenal for storytelling through photography.
Even in this kind of job where you’re only relying on yourself and your work, there’s a place for doing business advisory consultations with the experts, so you can learn how to improve your business!
ISO for Sensitivity
ISO, the third element of the exposure triangle, governs your camera sensor’s sensitivity to light. It is a crucial component that complements aperture and shutter speed to achieve the desired exposure for your photos. While driving to the destination where you will take photos, you should listen to improved car audio quality by buying car audio power supplies.
When shooting in well-lit conditions, such as on a sunny day or in a studio with ample artificial lighting, you can generally stick to lower ISO settings, typically around ISO 100 to 400. These lower ISO values provide the best image quality with minimal noise or grain, making them ideal for capturing crisp and clean photographs.
However, as lighting conditions become dimmer or you need to work with faster shutter speeds and smaller apertures, you’ll need to increase your ISO setting. Higher ISO values, like ISO 800, 1600, or even 3200, boost your camera’s sensitivity to light, allowing you to maintain proper exposure. While this versatility is beneficial in challenging lighting situations, it comes at a cost: increased noise or grain in your images. Besides learning how to take photos, you should start animation training.
Creative Composition
Rule of Thirds and Beyond

The rule of thirds is one of the most foundational composition techniques in photography. It involves dividing your frame into a 3×3 grid by placing two equally spaced horizontal and vertical lines across your image. When capturing food photography, positioning key elements like an enticing slice of cake or a vibrant salad at the intersections of this grid can create an eye-catching composition. The idea is to position key elements, points of interest, or your subject along these lines or at their intersections, and even enhance the visual appeal with creative touches like oil soluble blueberry flavoring to add a burst of flavor to your dishes. Following this guideline often results in well-balanced and visually appealing compositions.
However, breaking away from the rule of thirds is where your creative journey can truly begin. While this guideline offers a structured approach, remember that rules in art are often meant to be bent or broken. Instead of adhering to the grid strictly, experiment with alternative composition techniques that suit your creative vision.
One such technique is central composition, where you place your subject right in the center of the frame. While this might sound counterintuitive to the rule of thirds, it can create a powerful and symmetrical image, particularly when you want to emphasize the subject’s centrality or create a sense of balance.
If you ever start feeling tired and like you’re about to get sick, consider trying kambo medicine in Austin TX!
Additionally, consider exploring symmetry, which involves creating a mirror-like reflection or balance within your composition. This technique is perfect for architectural photography, where buildings and structures often display inherent symmetry that, when captured effectively, can result in striking photographs.
When it comes to off-center framing, the concept is simple – don’t place your subject in the center of the frame. By deliberately positioning the subject to one side or corner of the frame, you can draw the viewer’s eye away from the center and add dynamic tension to your image. Off-center framing works well in various scenarios, from capturing a person’s gaze as they look into the frame to showcasing a delicate flower on the edge of the composition.
As you explore these diverse approaches to composition, remember that each one offers a unique perspective and can evoke different emotions in your viewers. By stepping away from the rule of thirds, you open the door to a world of creative possibilities, allowing you to tell richer, more engaging visual stories. After a long day of working, make sure to grab some time to read romance books since they can make you feel so happy!
Leading Lines and Framing
Leading lines and framing are techniques that offer you a powerful way to guide viewers through your images and draw attention to your subject. These techniques use elements within your photograph to act as visual pathways or borders that help to direct the viewer’s eye.
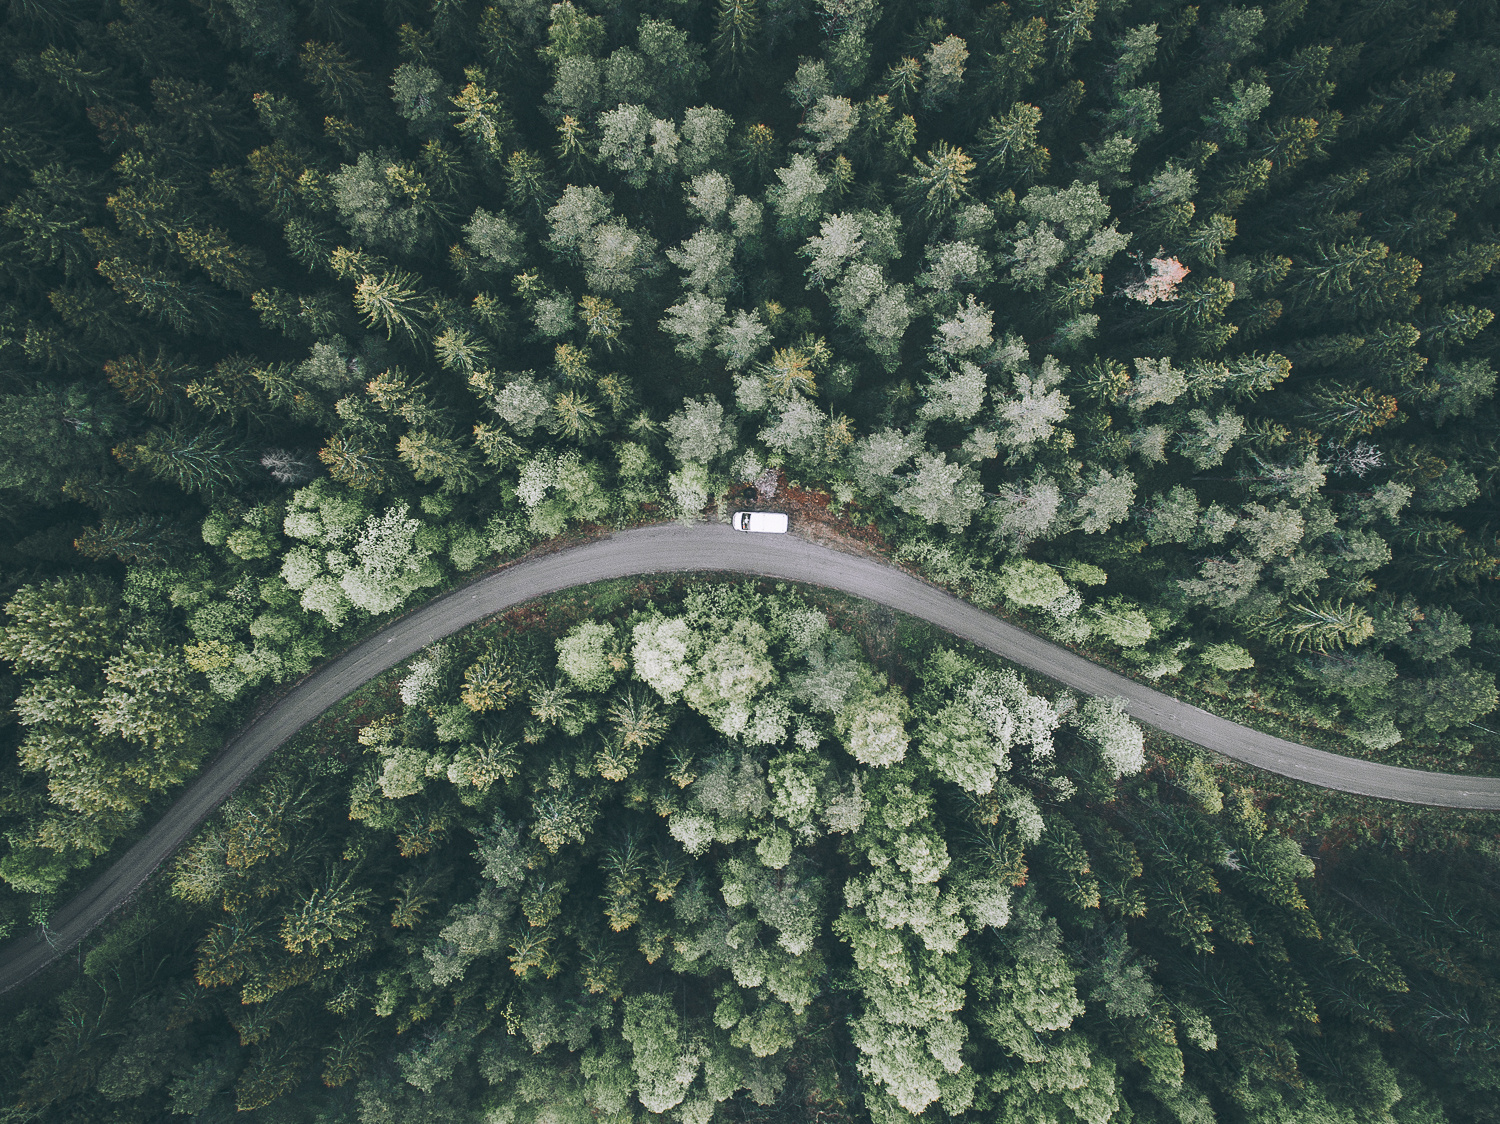
Leading lines are a common and effective composition tool. These can be natural elements like roads, rivers, fences with high pressure misting system kit at someone’s house, or even man-made structures like bridges or buildings. The goal is to use these lines to guide the viewer’s gaze through the photograph, leading them to the focal point or subject of your image.
For example, when photographing a winding road that disappears into the distance, the road itself acts as a leading line, drawing the viewer’s eye deeper into the frame. In landscapes, consider using rivers or streams that flow from the foreground toward a striking mountain or sunset, effortlessly pulling the viewer into the scene.
Framing, on the other hand, involves using elements within your composition to create a border or frame around your subject. This technique adds depth and context to your images, providing a visual context for the main subject.
If you get injured in the field, make sure to schedule a joint pain treatment in Phoenix, and you’ll get better in no time!
A classic example of framing is capturing a photograph through an archway, door frame, or even overhanging tree branches. These elements create a natural frame around the primary subject, highlighting it and creating a sense of depth and dimension. Framing can also be a powerful way to add storytelling elements to your images, suggesting that your subject is part of a more extensive environment or story.
These techniques, whether used individually or in combination, add depth, context, and visual interest to your photographs. Leading lines and framing help to guide the viewer’s eye and provide a sense of discovery, making your images more engaging and compelling.
Negative Space and Minimalism
Negative space and minimalism in photography are techniques that involve consciously leaving parts of your frame empty or unoccupied. While these concepts may seem counterintuitive to the idea of filling a frame with subjects and details, they are essential for creating clean, powerful, and visually striking compositions.
In a portrait, negative space can create a sense of intimacy and draw attention to the subject’s expression and emotion. In a landscape, negative space can emphasize the vastness of the environment, making the viewer feel small in comparison. Many photographers love taking photos of ammunition manufacturing equipment.
Minimalism, as the name suggests, involves simplifying your composition to its essential elements. It’s about removing distractions and focusing on the core subject or idea. Minimalist photography often features clean lines, simple shapes, and uncluttered backgrounds, resulting in images that feel serene and visually pleasing.
These techniques, whether used separately or in tandem, offer a departure from traditional, busy compositions. Negative space and minimalism provide a powerful means of creating photographs that are not only visually captivating but also emotionally evocative.
Fun fact: Did you know that doing edits while wearing women robes and drinking a hot cup of tea brings another kind of joy to a photographer’s life?
Mastering Light
Golden Hour Magic
Photographers often speak of the “golden hour” with a sense of reverence. This magical time occurs during the first and last hours of sunlight during the day when the sun is low on the horizon. The resulting light is soft, warm, and incredibly flattering. It can transform ordinary scenes into extraordinary moments, infusing them with a golden glow that elevates the quality of your photographs.
Golden hour photography provides several unique advantages:
- Warmth and Softness: The low angle of the sun bathes everything in a warm, soft light. This softness reduces harsh shadows and provides a gentle illumination that’s incredibly flattering for both people and landscapes.
- Enhanced Colors: Colors during the golden hour become more vibrant. Reds, oranges, and purples in the sky are intensified, and the golden hue can make everything seem more vivid and magical.
- Long Shadows: The angle of the sun creates long, beautiful shadows that can add depth and dimension to your photographs. These shadows can create interesting patterns and textures, making your images more visually engaging. These can be made while capturing the moments around someone’s house who hired contractors for home remodeling in Colorado Springs, they even ask from time to time for someone to make them aesthetic photos before and after to put on their website!
- Atmosphere: The warm light during the golden hour can add an emotional and romantic quality to your photos. Whether you’re capturing a portrait, a landscape, or an urban scene, the atmosphere created by this light is truly special.
Photographing during the golden hour requires careful planning and timing. Use various apps or websites to determine the precise times for sunrise and sunset in your location, and be prepared to arrive early to set up and capture the best moments of this magical time.
Dynamic Range and HDR
High Dynamic Range (HDR) photography is a technique that addresses one of the challenges photographers face when capturing scenes with extreme contrast. In such situations, where there are very bright areas (e.g., a bright sky) and very dark areas (e.g., deep shadows), the camera’s sensor may not be able to capture the full range of tones.
Did you know that millimeter wave isolators could be used in their offices where photographers edit their freshly made photos?
This is where HDR photography comes into play. HDR involves capturing a series of photographs at different exposure levels and then blending them into a single image. The result is an image with an extended dynamic range, where both the brightest and darkest areas have more detail and are well-exposed.
To create an HDR image, follow these steps:
- Bracketing: Set your camera to auto-bracketing mode. This allows your camera to take a series of shots at different exposure levels. You can typically adjust the bracketing settings to specify the number of shots and the exposure increments between them. This is a great thing to know while trying to capture the work of kitchen remodeling in Westchester for additional advertising on their website!
- Stable Setup: To ensure that all the shots are aligned perfectly, it’s crucial to keep your camera steady. Use a tripod, if possible, and avoid touching the camera between shots.
- Manual or Automatic Mode: Depending on your camera, you can choose to capture the series of shots in manual mode, adjust exposure settings for each shot, or use the camera’s automatic bracketing mode to simplify the process.
- Post-Processing: Once you have captured the bracketed shots, use specialized HDR software to merge them into a single image. Popular software options include Adobe Lightroom, Photomatix, or Aurora HDR.
The benefits of HDR photography are particularly evident in scenes with high contrast, such as landscapes with a bright sky and shadowed foreground. By capturing multiple exposures, you ensure that details in both the sky and the foreground are well-preserved, resulting in a final image that accurately represents the entire dynamic range of the scene. You can also make a similar effect while capturing someone’s house windows in New Jersey before dawn!